
 I can't think of a better way to end the year than with being able to answer the most commonly asked question of the year, "Have Meg & Kurt moved into their new house yet?" with a resounding "YES!". The movers came on Wednesdsay and while there is still a lot of unpacking and a few final items to take care of, they are very happily in their new house after over 14 months of renovations. Before we go too far, you might want to take a peak at the beginning of this 18th Century Colonial Renovation to refresh your memory on what it looked like in the "before" pictures.
 The most dramatic changes on the front were the removal of the front porch and the addition of a double sided staircase as well as new Hardiplank clapboard.
 The sides and back of the house have been re-shingled and the trim has been painted to coordinate with the front of the house.
 In addition to the new shingles, the back of the house got a new 8' sliding door and mahogany decking at both entrances.
 Here is glimpse up the very narrow back staircase by the kitchen which received a fresh coat of paint on the walls and stairs. I always love a second staircase in a house. I don't know why they don't do that more often in new homes.
 Before I go too far, I need to mention that I went in to take pictures the day before they moved in so there were still a few work related things laying around like a dry vac and garbage can in the middle of the kitchen. The kitchen was the one room that received new flooring. The cabinets are Abstrakt by Ikea.
 All new appliances went into the kitchen and there are some nice little features like the pot filler over the stove. The one thing that still needs to be decided on here is a backsplash.
 There used to be a chimney in this space, but as it wasn't necessary, they removed it and were able to add this custom built in bar and entertainment unit between the kitchen and den.
 This room was considered the dining room, but they will be using it as a den as it is open to the kitchen. The new slider is the biggest addition to this room. You can see in the corner of the room and on the ceilings that there are exposed beams. The one in the corner was partially damaged and needed repair, but they were able to cover up that area with a nice box molding that doesn't look out of place.
 The living room/dining area has a new wood stove and under that furniture cover is a wonderful gate-leg table that fits nicely along the wall when not in use and can be pulled out to the center of the room when entertaining more formally. While you can't see it in these pictures, the upper part of the walls are covered in beautiful grasscloth wallpaper by Elitist.
 The rooms are filled with natural light which makes them so open and bright.
 The front entry and stairwell were painted as well as the floors and staircase. Unfortunately, the old floors here were in too much disrepair to refinish, but I love the look of painted floors.
 The stairwell from upstairs.
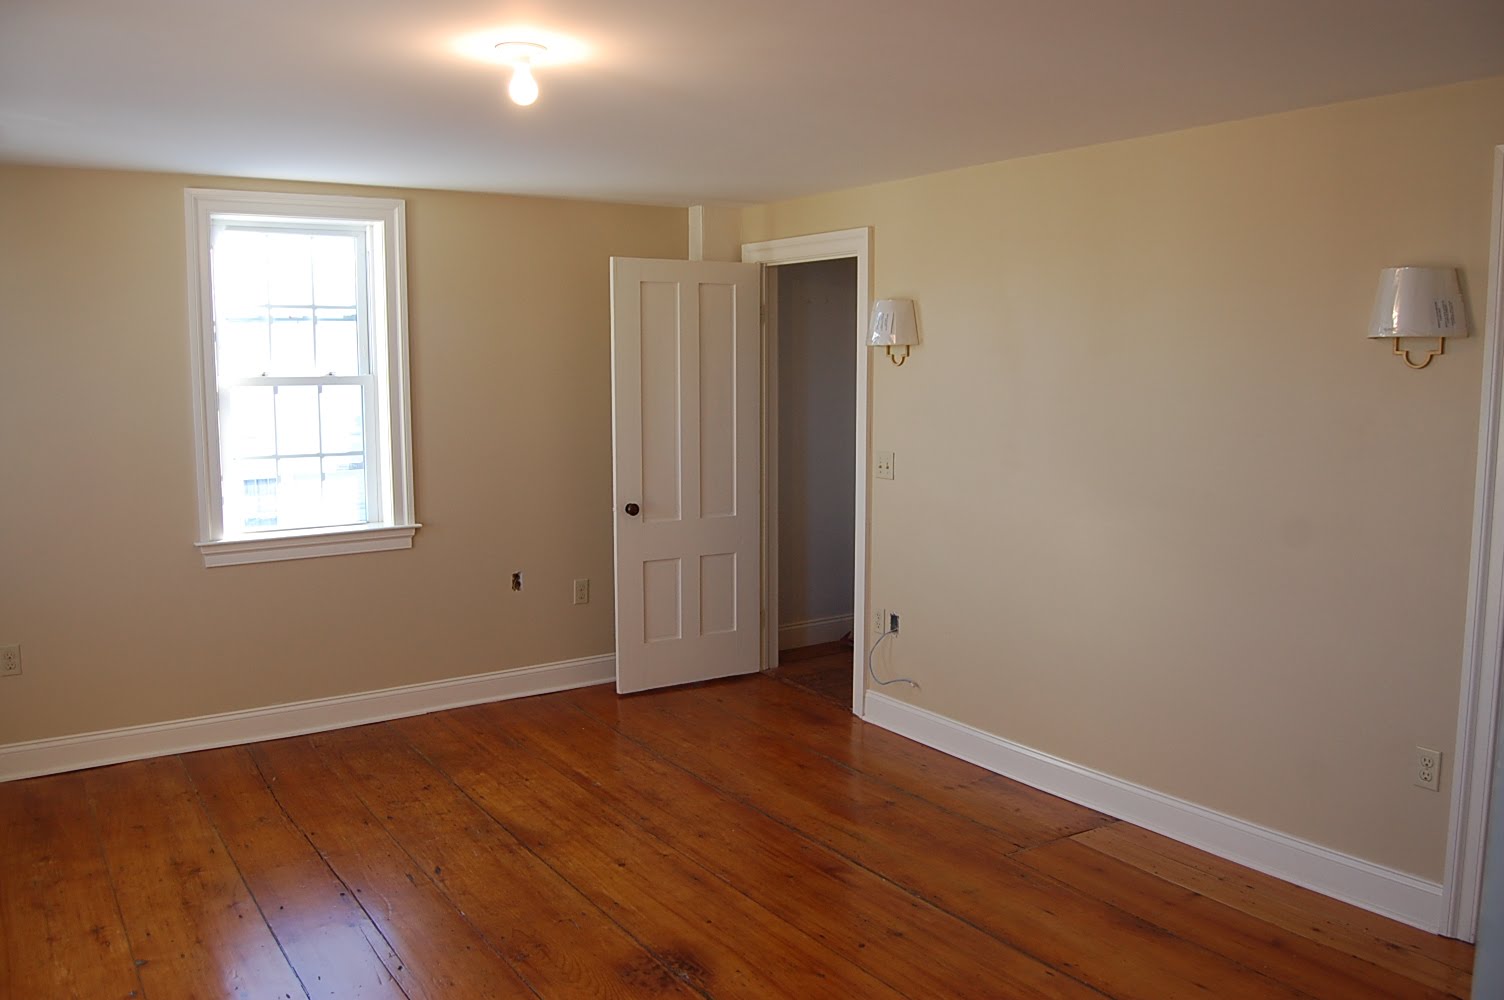 The master bedroom is enormous and very bright.
 A new master bath was added off of the master bedroom. The upstairs had only 1 half bath before the renovation, but now has two full baths as well as a full bath downstairs.
 The master bath shower. This proved to be the most challenging of their DIY projects, particularly in getting the tile floor level with the drain, but it came out really nice. The glass enclosure has not been installed yet, but will be soon.
 The long hallway was once part of each of the bedrooms so that one had to pass through one room to get to the next one. The color is one of my favorites-it's in my own living room too-Ocean Air by Benjamin Moore, although it looks quite different in this space because there is only one window in the hallway.
 The guest/kids bathroom is spacious and soothing. Again, the floors were painted in this space.
 An antique vanity adds some more character to the space.
 This is the third bedroom. I actually didn't get pictures of the second bedroom because the final coat of paint was being added later on the day I was there. This room fits a twin bed, and I love the melon color.
 While this room is on the smaller side, it is cozy and quiet and a spot one might retreat to for some down time.
 On the third floor, the original beams and closet remain with their dark wood, but the floors and walls have all been painted Super White by Benjamin Moore.
 I LOVE this! I have always wanted an all white room. This will be an office space and is the one room in the house with clear views to Newport harbor. I also love how they had built in drawers added into the walls to maximize storage space.
So there is the grand tour! I'm sure we will have many more projects from this house to share as finishing touches are made on the decor and things get unpacked. I know this is making for a very happy New Year for this family.
I am so excited about what's to come in 2011. Just a few of things I'll be bringing you include a fabulous wedding I'm planning in June, several projects around my own house, a Chateau & Bungalow product line and perhaps the revival of another fabulous product line as well as all the other great things I come across in my travels.
I wish you all a very Happy New Year too and thank you for following me!
~Sarah


 Posts
Posts


